Last updated: 2025
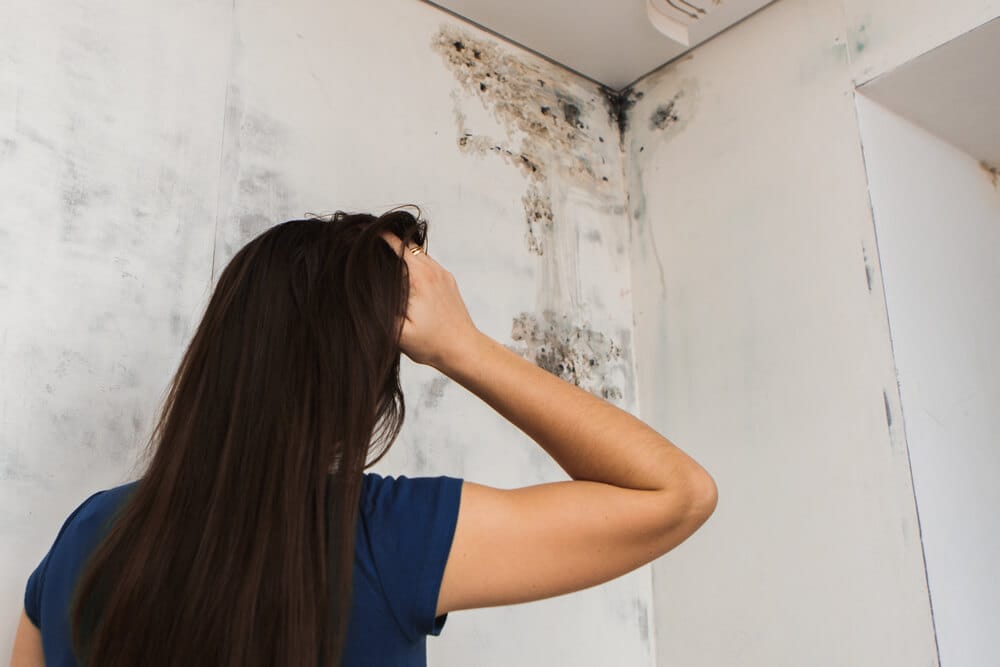
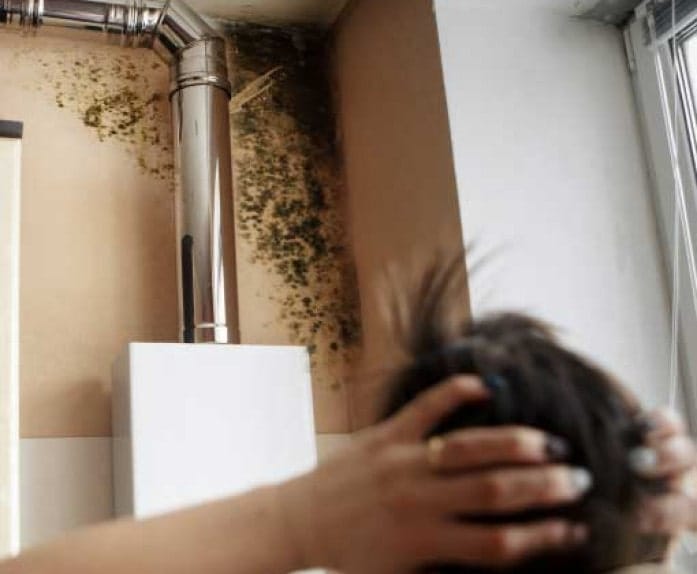
If you’ve spotted musty smells, peeling paint, or dark patches on walls, you are not alone. Mold happens. You deserve clear, judgment-free guidance that protects your health and your home. Below is a safe, simple plan, plus how to know when DIY is enough and when to bring in help. At Spaulding Decon, you can rest assured that we work discreetly and with compassion. We truly respect the story of every life.
Quick steps:
- Assess the size of the area (make sure it’s ≈10 sq ft or less for DIY)
- Isolate the area
- Wear N95 protective gear
- Clean hard, non-porous surfaces with detergent and water
- Remove moldy porous materials (like drywall)
- Dry to <60% RH (ideally 30–50%)
- Fix leaks/condensation
- Call a pro for larger, hidden, or recurring growth.
Before You Start: DIY vs. Pro (Quick Check)
Here’s what you should know before you get started and as you decide if the do-it-yourself method is the right choice for you or whether you need to call in a professional team to help you get rid of mold.
- DIY is generally okay for small areas (about 10 sq ft or less total). Larger or recurring growth, or mold in HVAC/ducts, is a professional job.
- Wear protection: N95 respirator (or better), gloves, and safety glasses/goggles.
- Fix the moisture first (leak, condensation, humidity). Otherwise mold returns.
- If anyone at home is immunocompromised or has asthma, or you see mold after sewage/contaminated water, please call a professional.
Wall Mold Removal Shopping List
Knowing how to get rid of mold on walls means having the right equipment to keep you safe and effectively get rid of mold. Your wall mold removal shopping list requires the following essentials:
Personal protective equipment (PPE) as recommended by the EPA/CDC:
- N95 respirator (or better)
- Safety glasses/goggles
- Gloves (nitrile, rubber, or vinyl)
- Old clothes or disposable coveralls
Containment and tools:
- Plastic sheeting and painter’s tape
- Heavy-duty trash bags
- Spray bottles, scrub sponges/soft brush, towels/rags
- Optional: HEPA vac for final dusting (don’t use a standard vacuum)
- Fans/dehumidifier (use this after cleaning, not during active mold removal)
Your Step-by-Step Guide to Removing Mold From Walls
Step 1: Assess The Damage
The places you will need to examine might not be the most obvious, but here is a quick list of some of the places you should look to assess the damage or the extent of the mold problem you have.
- Check behind the refrigerator, especially if it is connected to a water source
- Any time a plumbing chase runs from the basement to the attic
- Under the bathroom and kitchen sink
- Behind drywall around a leaky window
- Under the carpet and pad
- Ceiling tile
Determining the extent of the mold and assessing what needs to be done is a crucial step in mitigating and remedying the mold issue for good. Bear in mind that mold spores can also be airborne. If a mold infestation is larger than 10 sq ft, you can consider that a major mold issue. In such cases, it would be highly advised that you seek out a professional service to mitigate and remove all the mold on the surfaces and in the air.
Certain types of mold should not be DIYed, and the only way to be sure is to have a professional analyze it and identify the type of mold you are dealing with.
If the total area is over 10 sq ft or you suspect hidden mold in wall cavities or HVAC, choose a professional remediation.
Is your mold patch bigger than 3ft x 3ft? DIY solutions won’t cut it and could spread spores further. Call Spaulding Decon for emergency mold removal.
Step 2: Prep the area (and yourself)
Because of the way it can spread and its airborne capabilities, plus the way it can spread through contact, make the prepping phase before removing the mold very important. You may spread it through the entire house if you don’t follow the prep steps mentioned below:
- Clear or cover furniture with plastic; seal with tape.
- Isolate the space: close doors; plastic off openings.
- Turn off central HVAC in the work zone to avoid spreading spores.
- Keep windows cracked for ventilation, but avoid fans blowing across mold while you clean. Use airflow after removal to dry.
First, you must take down the curtains, photos, decor, or anything the mold spores can land on once the work begins. If there’s furniture that can be moved, move it out, and if you’re unable to move it out, you should use plastic sheeting to cover and wrap the furniture up and seal it with painters tape.
Next, you want to lay plastic on the floor and tape it down. This will ensure you catch any water drips and cleaning solutions that may get dropped.
Shut the doors to the room you’re working in, if possible. If not, it’s best to plastic the section that has mold. This will keep any airborne spores from floating through the house.
Step 3: Don your gear: PPE (Personal protective equipment)
Mold is not to be taken lightly. It can cause allergic reactions, skin irritation, and, in some instances, cause severe respiratory symptoms. The PPE you wear will protect you from spores and possible contamination.
Here is a quick list of how to gear up:
- N95 (or better) mask or respirator. You do not want to breathe in the spores.
- Eye protection: goggles, or safety glasses to prevent any removal chemicals or solutions from getting into your eyes
- Rubber gloves are a must-have when working with chemicals and necessary to avoid contact with the mold
- Old clothes, something you can wash in hot water immediately after mold removal or discard completely if necessary
Protect your health – don’t risk DIY mold removal! Our certified team handles toxic spores safely with industrial-grade equipment.
Step 4: Remove the mold (surface-by-surface DIY methods)
Here are a few DIY solutions you can use to get rid of mold on walls:
Bleach
What You Should Know Before You Start
- Working with bleach can be dangerous
- Keep the room you’re working in well-ventilated
- Never mix bleach with other cleaners or detergents
- Do not use bleach on porous materials such as wood or drywall. Bleach can worsen the mold on these areas.
Steps
Step 1: Add a diluted bleach mixture to a spray bottle and apply it to non-porous surfaces such as tile or in the shower, or on a sink top.
Step 2: Apply the mixture to the surface and let it dry.
Step 3: You will only need to wipe it clean if it is a food contact surface area.
Timeframe
The time it will take to kill the mold will vary. It will start to kill on contact, but completely killing the surface mold may take up to a few hours for the mold to disappear. It may take a few applications.
Important: For porous materials like drywall, ceiling tiles, and carpet that are moldy, removal and disposal is often the safest approach; mold penetrates these materials.
Vinegar and Baking Soda
What You Should Know Before You Start
- Vinegar and baking soda are non-toxic, pet-friendly, eco-friendly, and effective chemical alternatives.
- Vinegar is slightly acidic and will go after the deeper-rooted mold spores. While the baking soda is going to go after the moisture and help remove it as well as kill the surface mold.
Steps
Step 1: Pour white distilled vinegar into a spray bottle
Step 2: Spray the moldy area with the solution and let it sit for an hour. Depending on which surface you are cleaning. Spraying the mold with water and baking soda mixture, creating a paste mixture of water and baking soda and scrubbing the area, or a solution of vinegar and baking soda spray.
Step 3: Combine baking soda and water to form a paste, apply the mixture to the moldy area and scrub it lightly to remove mold with a soft bristle brush, toothbrush, or scrub sponge, and let it dry.
Step 4: Scrape gently, remove the dried paste, and wipe clean with a damp towel. (consider dampening the towel with the vinegar in the spray bottle)
Step 4a: For a smooth, non-porous surface, you can make a mixture of baking soda and water, 1teaspoon to a cup of water, mix well and pour into a spray bottle. Apply the solution to the moldy area and let it dry. Wipe clean with a damp towel.
Borax
What You Should Know Before You Start
- While borax is a low‑level toxin, it is still toxic if swallowed, and it will irritate your skin if directly exposed due to its high alkalinity. By raising the alkaline levels of the surface, borax kills and prevents mold from returning.
Steps
Step 1: Add 1 cup of borax to 1 gallon of warm water.
Step 2: Apply the solution to the moldy area using a spray bottle, be careful not to saturate the area. Water creates mold.
Step 3: With a soft bristle brush or a scrub sponge, scrub off the mold
Step 4: Wipe with a dry towel and allow it to dry.
Step 5: Lightly mist the area with the borax solution spray and let it dry, Do not rinse.
Timeframe
Once applied, the borax needs to be left for up to 24 hours to completely kill the mold.
Tea Tree Oil
What You Should Know Before You Start
- Tea tree oil is a natural and powerful way to kill mold on walls. Tea tree oil can be applied by spray, towel, or sponge. The most practical application is to leave the oil on for at least an hour.
- Be careful with tea tree oil; even though it is natural, it’s a strong essential oil and can irritate the skin.
- It is possible to mix tea tree essential oil and vinegar to create a preventive solution you can use every day in the shower.
- Tea tree oil will kill black mold.
Steps
Step 1: Starting mixture is 1 teaspoon of tea tree oil to one cup of water. Mix thoroughly.
Step 2: You can place the solution in a spray bottle or apply it with a damp towel.
Step 3: Let the area dry and wipe it clean with a dry towel.
Pro tip: When in doubt, leave it to the pros. Mold can be very dangerous and spread easily if all the correct procedures are not followed. Protect yourself and your family and make the right decision regarding mold removal. If it’s a mold spot bigger than 10 sq ft, you should call in a professional service.
Mold keeps coming back? We fix the source – not just the stains!
Step 5: Dry and prevent mold’s return
Next, you need to focus on improving the airflow in the affected area. To do this, pull your furniture a few inches from the exterior walls. Also, it’s essential that you maintain your HVAC system and that you clear your AC condensate lines.
Step 6: Don’t paint over mold
Never paint or caulk over moldy surfaces. Clean and dry first, and replace porous materials as needed. Paint applied over mold will not fix the problem and can fail.
Why Mold Grows (Especially On Walls)
Mold needs the perfect conditions to grow and requires dead organic material (nutrients), water, oxygen, and the right temperature, which is a pretty wide range from 40% to 100%. Nothing above 100% and nothing below 40% but its still a pretty wide temperature range.
Heat and humidity combined invite mold growth.
Walls, in particular, can be susceptible to many different types of mold. Condensation from air conditioners can cause walls to mold. When the air on the inside is cooler than the air outside, moisture can build up on walls. Poorly built or older structures can have poor or deteriorating barriers between the exterior and interior, allowing rain to seep through and providing a moisture source.
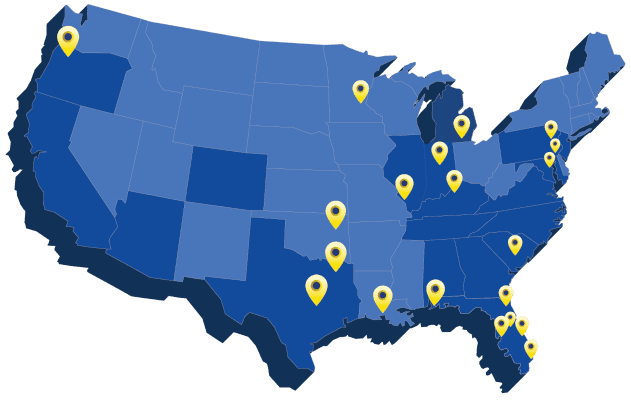
When to Call Spaulding Decon
Sometimes, removing mold on walls is a bit more complex than a DIY solution can handle. When that happens, you need a team that you can call to eliminate mold at a moment’s notice. If you need a mold removal service, contact us today. At Spaulding Decon, we have the knowledge and expertise to help solve all your mold needs.
Call us if:
- The affected area is >10 sq ft, or mold keeps returning.
- You suspect hidden mold (musty odor; past leak; staining that spreads).
- Mold is in HVAC/ducts, after sewage/contaminated water, or anyone at home is medically vulnerable.
We work at your pace. Our teams arrive discreetly. 24/7 help: (866) 726-2316
FAQ
No. If you see or smell mold, clean it up and fix the moisture. Testing isn’t required for typical home cleanup.
There is no way to be absolutely certain that you have black mold unless it is professionally tested. Just because it is black in color does not mean for certain that you have black mold.
All indoor mold needs attention. The associated health risk depends more on exposure and your health than on the color of the mold. Focus on removing it and on fixing the moisture.
Begin with an antimicrobial cleaner that contains an oxidiser, such as Sporocidin. These products are effective against a wide range of microorganisms and safe for most hard, non-porous surfaces when used as directed. Always follow the manufacturer’s instructions and avoid mixing chemicals. If you’re unsure about the safety of the detergent or the materials you’re cleaning, it’s best to contact a professional cleaning service for advice or assistance.
No. If you are seeing moldy drywall, it likely went through from the back, and your insulation is wet or damp. It must be removed inside containment, and an air scrubber or negative air deployed.
Never use fans where there is mold. You will spread the spores around and cause mold to grow in other areas.
Keep indoor RH below 60%, ideally at between 30% and 50%. Ventilate your bathrooms and kitchens.
At minimum for small jobs include an N95 respirator, gloves, and goggles. People with breathing issues should avoid mold cleanups.
Yes, but only do so after the mold is removed and the materials are dry. Don’t paint over mold.